Vacation Rentals Setup with Modern Design
About Vacation Rentals
Vacation Rentals functionality for Modern design is introduced in RealHomes version 3.12.0 . Make sure you have followed the Installation guide.
Important
Activating Vacations Rental will disable some standard Real Estate features to provide a full property rental portal experience.
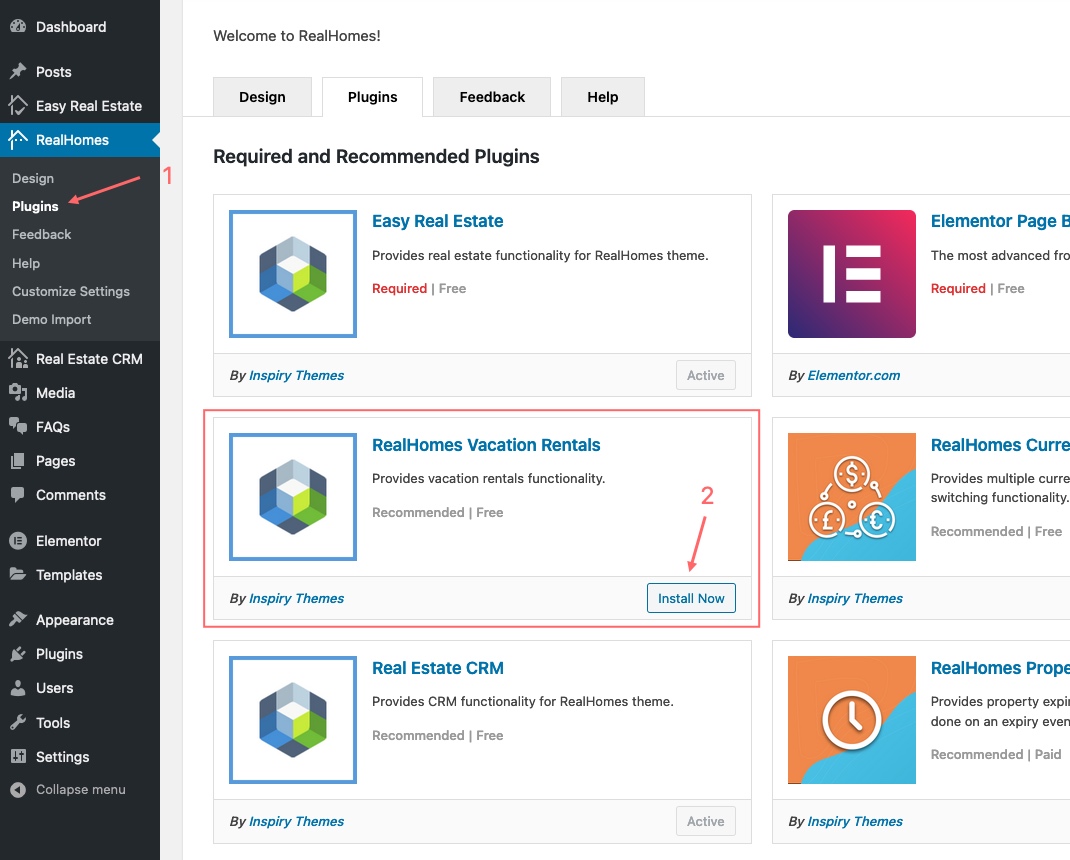
Step 1. Install and Activate Vacation Rentals Plugin
Navigate to Dashboard → RealHomes → Plugins and install the RealHomes Vacation Rentals plugin. After installation, click Activate.
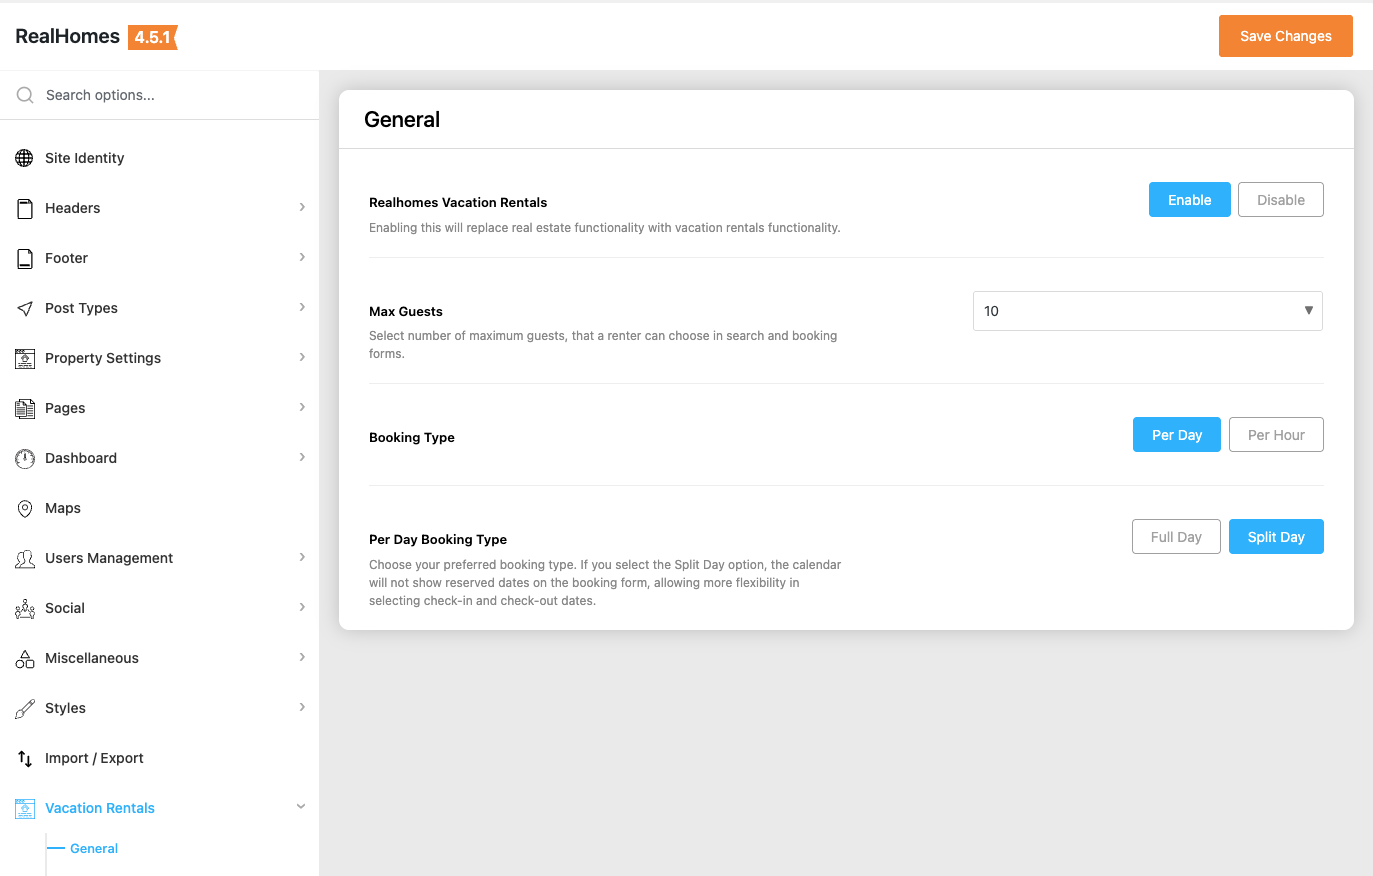
Step 2. Configure Vacation Rentals Plugin Settings
To configure Vacation Rentals settings, navigate based on your version:
RealHomes Settings
➤ ➤ ➤
Legacy Settings
➤ ➤
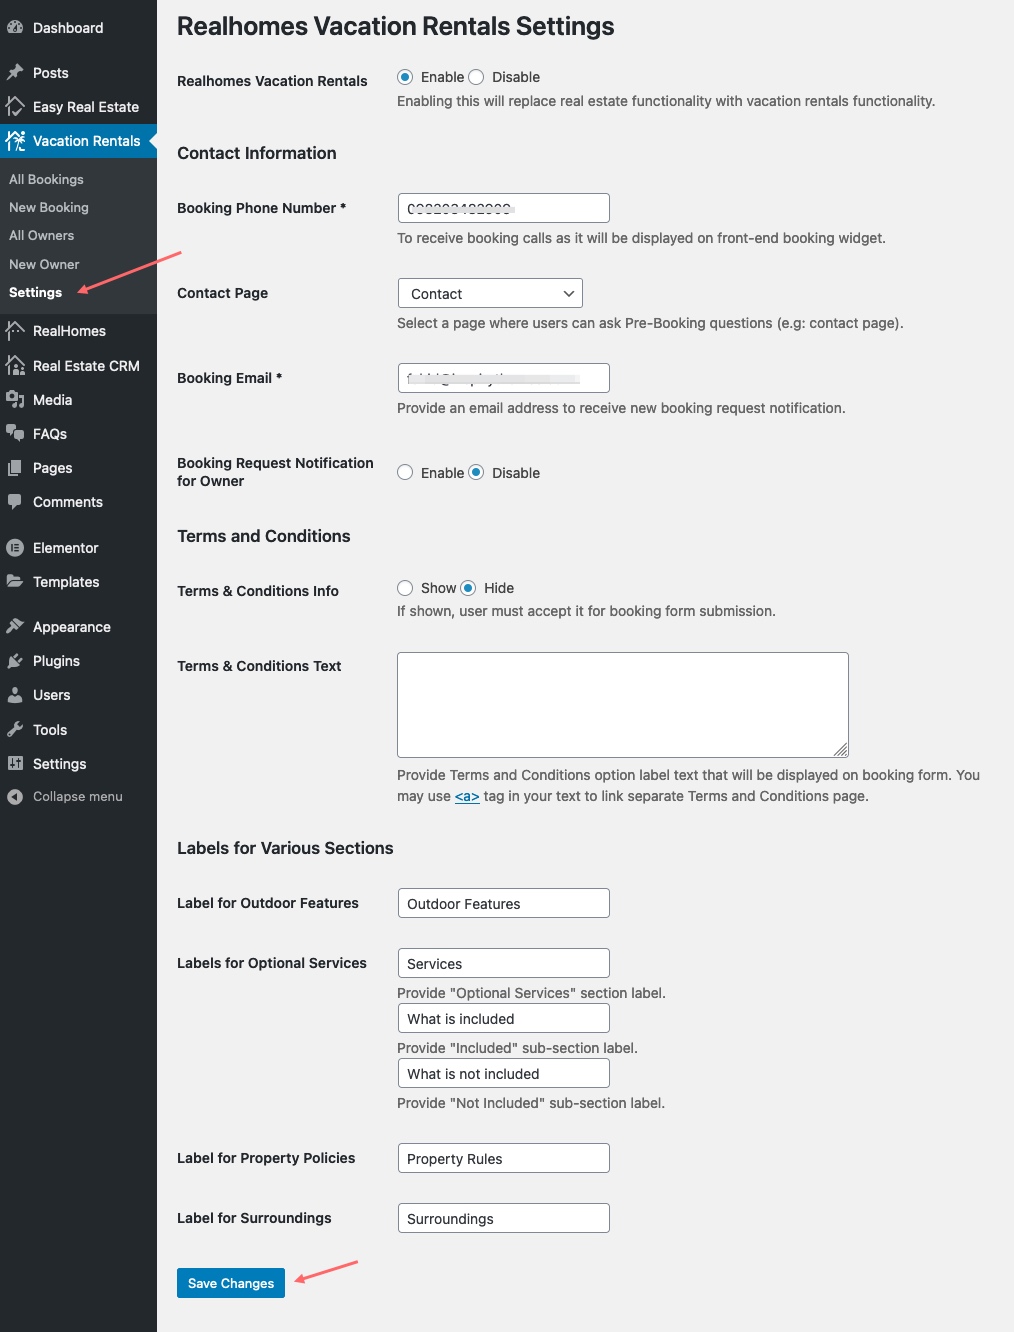
You can configure the following:
- Enable/Disable Vacation Rentals
- Contact Information (Phone, Contact Page, Booking Email)
- Booking Notification for Owner
- Terms and Conditions
- Property Sections Labels
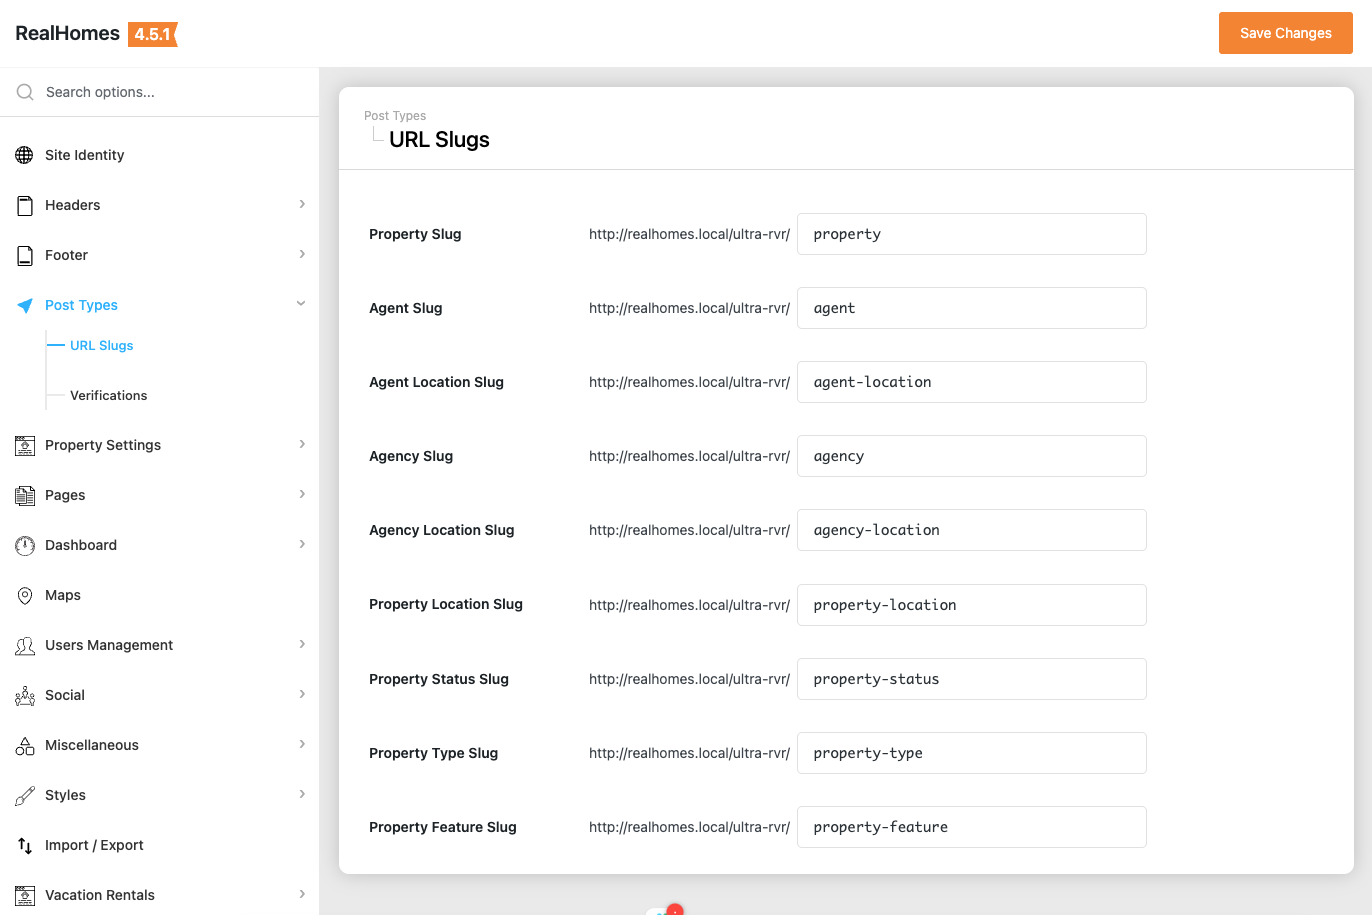
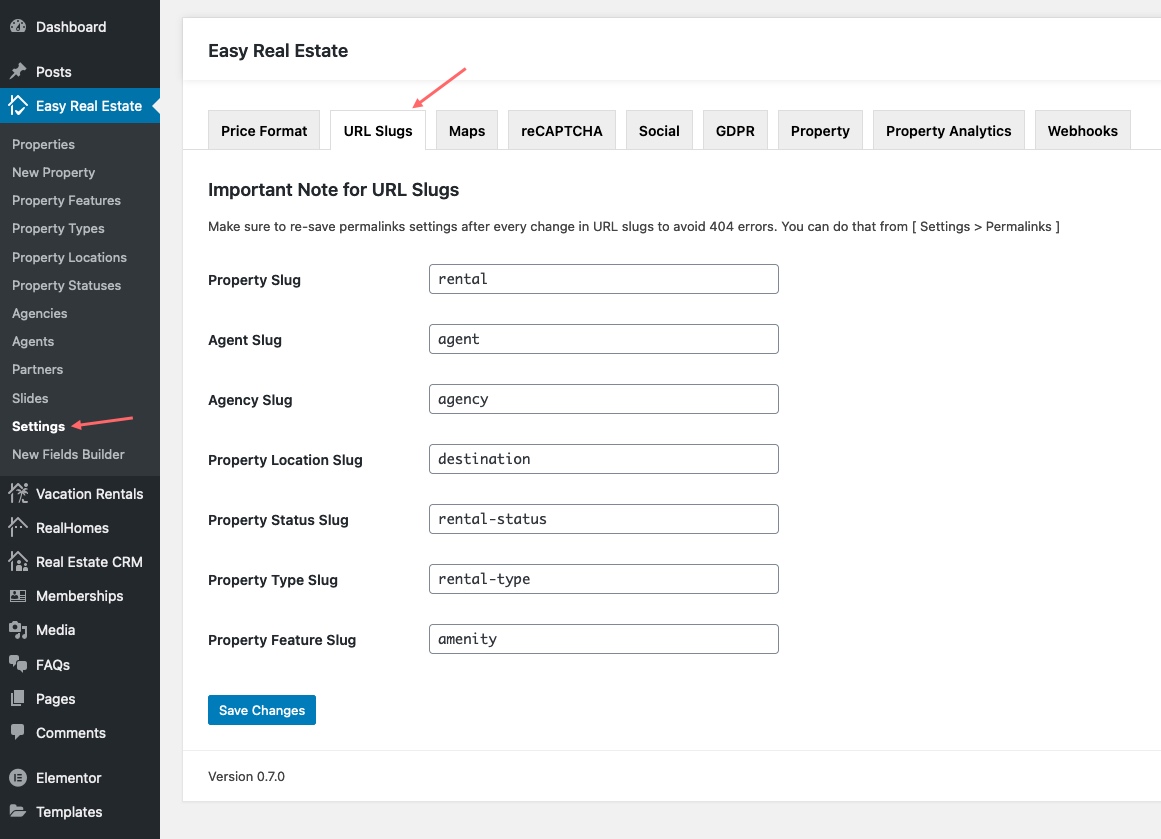
Step 3. Configure URL Slugs
To change URL Slugs, navigate based on your version:
RealHomes Settings
➤ ➤ ➤
Legacy Settings
➤ ➤ ➤
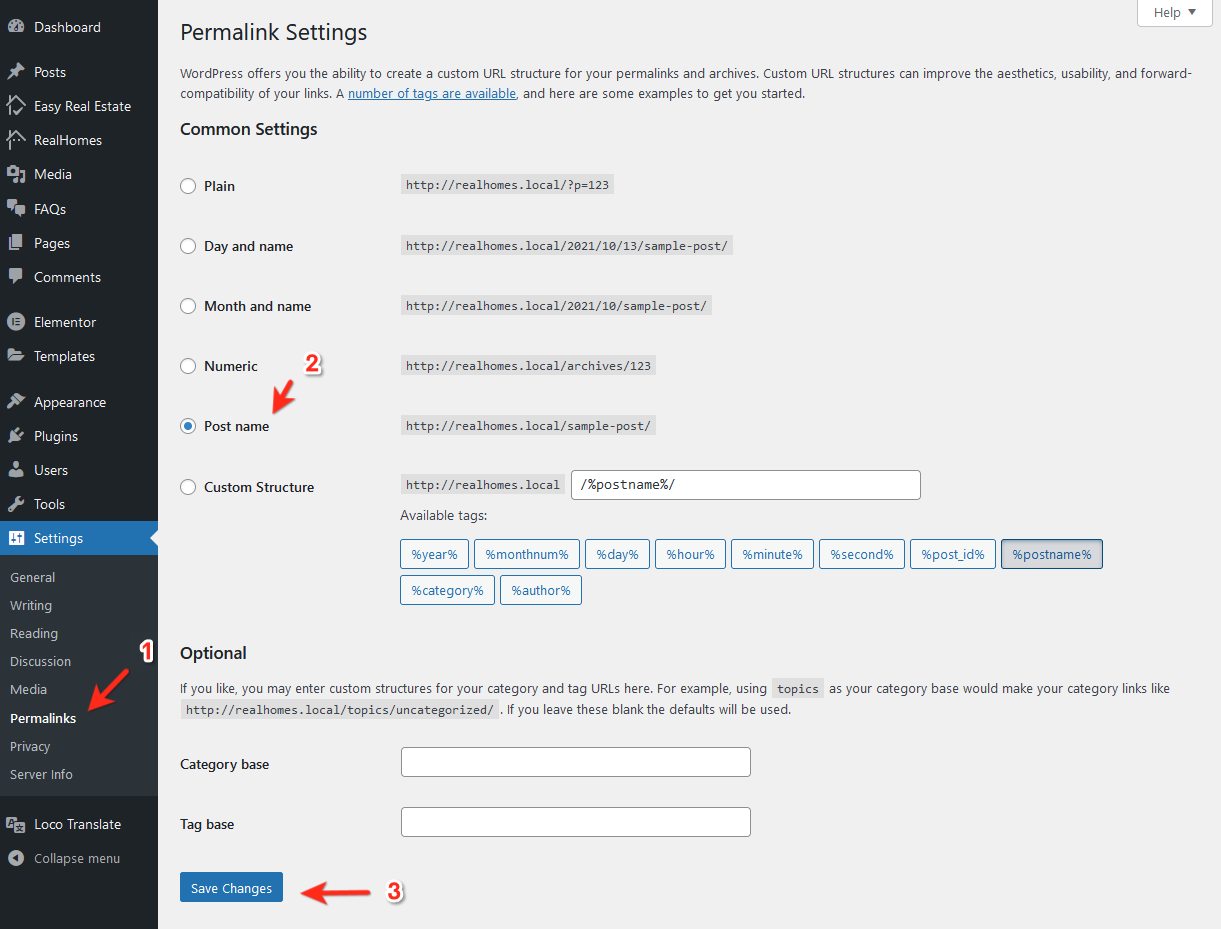
Step 4. Save Permalinks Settings
Go to Dashboard → Settings → Permalinks, choose Post name, and save changes to avoid 404 Errors.
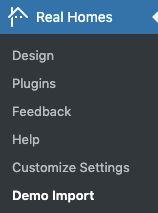
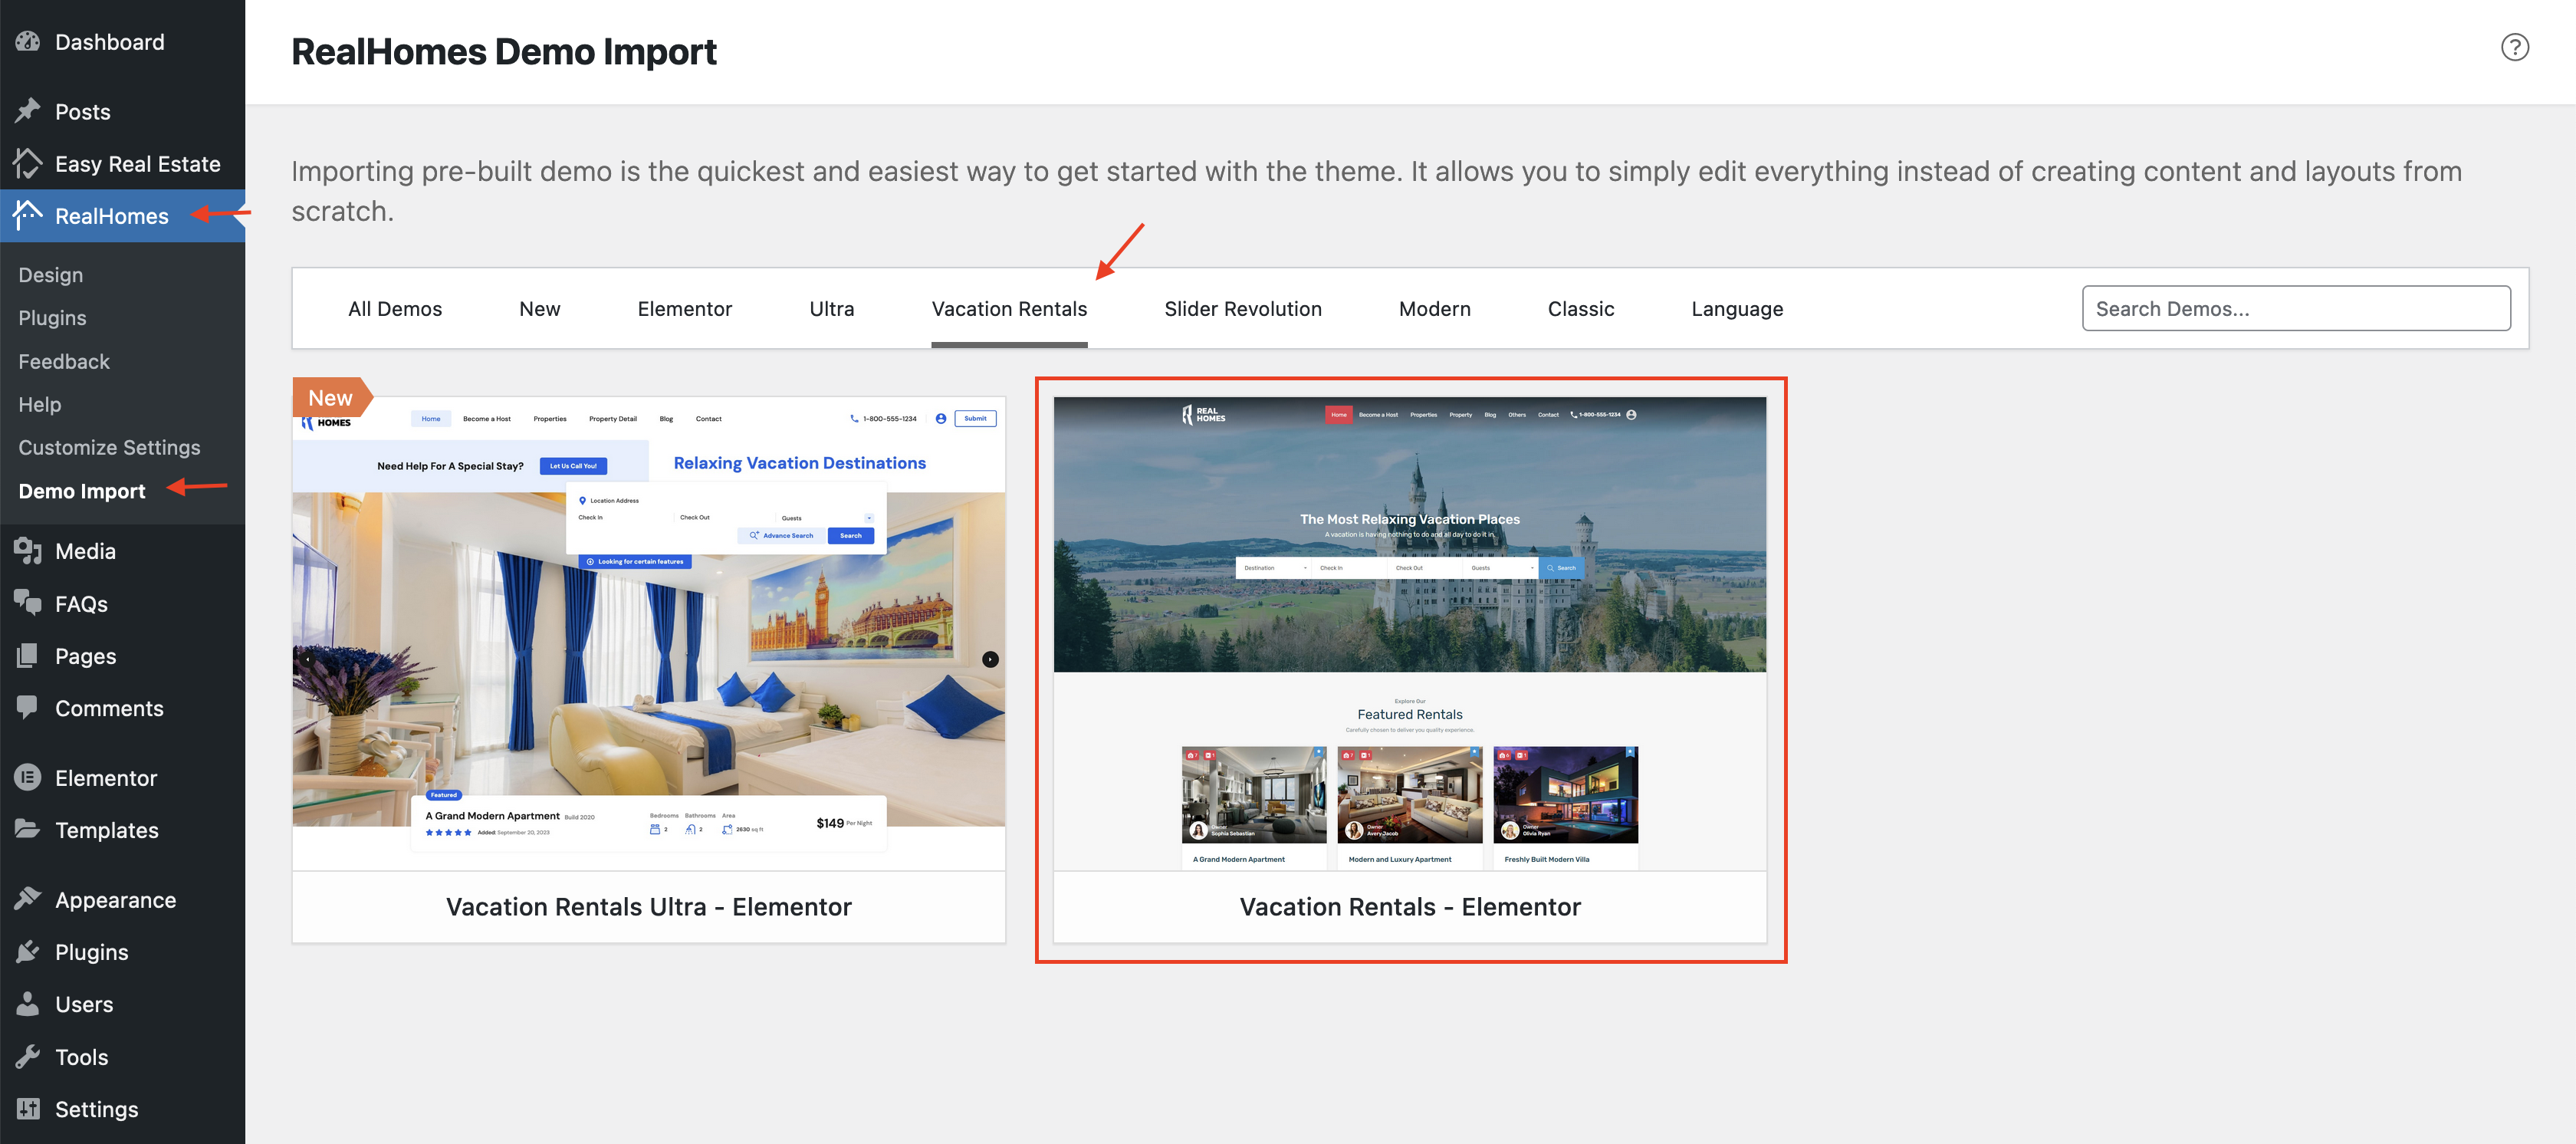
Step 5. Import Vacation Rentals Demo Data
Go to Dashboard → RealHomes → Demo Import to import demo data.
Click Import Demo for Vacation Rentals - Elementor and follow the prompts.
Important
If the process doesn't complete, simply try again.
Visit your site and you will find it working like the theme demo.
For assistance, please visit our support website.